Remotion 1.4

Welcome to the release notes of Remotion 1.4! This is a big release adding support for more use cases and makes Remotion more stable, intuitive and robust.
Support for HEVC and WebM codecs
Instead of just supporting H.264, you can now also encode a video in H.265 (HEVC), or as a WebM (in either VP8 or VP9 codec). These codecs will result in smaller file sizes, but have some trade-offs. To help you decide which codec to use, there is now an encoding guide in the docs. See also the documentation for changing the codec in the config file as well as in the CLI.
Transparent videos
Did you know that Chrome and Firefox support video with alpha channels? Play the video and click the button below to dynamically change the background.
Remotion now has enough configurability to enable you to render transparent videos. There is a new documentation page for it, which also gives you guidance on how to render a fallback video for unsupported browsers.
New random() API
Let's say you want to render 100 random particles in a video. A common mistake is to generate random values and store them in a state. The following is an anti-pattern in Remotion:
export const MyComp = () => {
// ⚠️ Bug! Random values will change during render
const [particles] = useState(() => {
return new Array(100).fill(true).map(() => ({
x: Math.random(),
y: Math.random(),
}));
});
};While this will work while previewing the video, during rendering, the random numbers will change during frames. This is because Remotion spins up multiple instances of Chrome and the random numbers will be different in each instance.
To help you avoid this mistake, there is now a new ESLint rule that will warn when you use Math.random(). Instead using it, you can use the new random() API. It will take a seed parameter and output a number between 0 and 1. The point of it is: As long as you pass the same seed, you get the same output! That way you don't get unintended effects while multithreaded rendering is performed.
import {useState } from 'react';
import {random } from 'remotion';
export const MyComp = () => {
// ✅ Pseudo-random values that will be same across threads
const [particles ] = useState (() => {
return new Array (100).fill (true).map ((_ , idx ) => ({
x : random (`x-${idx }`),
y : random (`y-${idx }`),
}));
});
};Want to learn more? Read the new documentation page about using randomness.
More configuration options
Several new configuration options have been added as CLI flags, config file entries and to the SSR API:
- setCrf() controls the tradeoff between quality and file size of the output file.
- setQuality() allows you to control the JPEG quality of the frames rendered.
- setCodec() allows you to select between 4 different codecs (as mentioned above).
- setImageSequence() allows you to skip the stitching process and output only an image sequence
- setImageFormat() allows you to explicitly select either PNG or JPEG as the format for the rendered frames.
- setPixelFormat() has a new accepted value,
yuva420p, which is necessary for transparent videos.
The addition of setImageSequence() and setImageFormat() as well as setCodec() makes the previous configuration options setOutputFormat() and --png obsolete. and they are therefore now deprecated. While they still work, we encourage you to use the new configuration options which are much more granular - for example now you can render a JPEG sequence if you wish to.
Keyboard controls in the editor
Thanks to an awesome pull request by Arthur Denner, keyboard navigation in the editor is much improved! Reading the PR is highly recommended because it's insightful and makes you realize that it's not hard to make a website keyboard-navigateable.
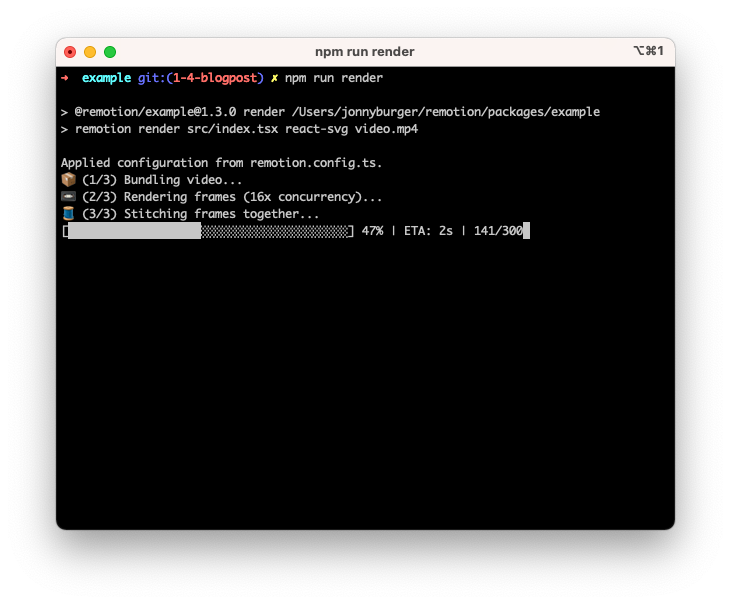
Progress bar for stitching frames together
Don't be surprised if the newly added codecs are much slower than the default H.264. It's normal. But at least now you can always check the progress of the rendering!
New layout prop for <Sequence>
Few people have rightly pointed out that the <Sequence> component will absolutely position it's children and there is no way to opt out of it. While we cannot change this now because of backwards-compatibility, you can now pass layout="none" as a prop to opt out of any layout influence that <Sequence> has.
Asynchronously determining composition metadata
There's a small breaking change in this release - delayRender works during the 'evaluation' phase. This is the phase where Remotion analyses your project and determines all compositions and does some validation. Watch out for delayRender() calls outside components, as they might block the evaluation phase now since no components are being rendered during that phase.
The benefit is that now your compositions can take in data that has been asynchronously fetched. For example the following is now possible:
export const RemotionVideo: React.FC = () => {
const [videoLength, setVideoLength] = useState(null)
useEffect(() => {
const handle = delayRender();
determineVideoLength()
.then((duration) => {
setVideoLength(duration)
continueRender(handle)
})
.catch(err => /**/)
}, [])
if (videoLength === null) {
return null;
}
return (
<>
<Composition
id="HelloWorld"
component={HelloWorld}
durationInFrames={videoLength}
fps={30}
width={1920}
height={1080}
/>
</>
)
}Stay tuned for a new API that will allow you to measure video and audio duration!
End to End tests for Windows, macOS and Ubuntu
While Remotion is primarily developed on macOS, other operating systems shouldn't have a sub-par experience or get bugs. While it does not replace manual testing, it helps that there are now some end-to-end tests for rendering videos and the test suite now runs on all 3 operating systems. Going forward, I will add more tests and contributors are also encouraged to do so.
ESLint rule for wrong asset import
In Remotion, you shouldn't specify the src as filepath string, but import the asset instead. To help you not make this mistake, there's a new ESLint rule:
import {Img} from 'remotion';
import hi from './hi.png';
// ✅ Correct: Using an import statement
<Img src={hi} />
// ⚠️ Warning since 1.4: Import the asset instead
<Img src="./hi.png"/>Paying top contributors
Since Remotion will make money by selling licenses to bigger companies, it's only fair to give contributors their share as well! I have made offers to two top contributors so far to compensate them for their time spent so far and for potential future work. Gladly, they both accepted!
Various improvements
-
Fixed showing floats when fps is not a Integer (e.g 59.97fps)
-
Runtime error if you miss a prop in
<Composition>or<Sequence>
Up next...
Some awesome pull requests came in, the most notable one adds audio support! We are also working on allowing you to customize Puppeteer parameters and making the installation process much faster by not downloading a copy of Chromium. Keep your eyes open for more major improvements coming soon.
